EXT-HD60M: 1080p HDMI Extender over CAT6 Explained
The EXT-HD60M sends 1080p@60Hz HDMI and IR up to 60m (196ft) over one CAT6/6a/7 cable, with a local HDMI loop-out on the transmitter. CAT5e won't…


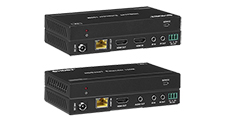 EXT-4KHD150M2
Long-Range 4K HDMI over HDBaseT Extender Kit — 150M / 492ft
18Gbps 4K60 4:4:4 HDR Extension with HDMI Loop, Audio De-embed, RS-232 & Bi-directional IR over…
Product page →
EXT-4KHD150M2
Long-Range 4K HDMI over HDBaseT Extender Kit — 150M / 492ft
18Gbps 4K60 4:4:4 HDR Extension with HDMI Loop, Audio De-embed, RS-232 & Bi-directional IR over…
Product page →
The EXT-4KHD150M2 is an 18Gbps HDMI over HDBaseT extender kit: a transmitter (TX) at the source and a receiver (RX) at the display, joined by a single Cat5e or Cat6 cable. Besides video and embedded audio, that one cable carries bi-directional RS-232, bi-directional IR and CEC. The TX adds an HDMI loop output for a local monitor, the RX adds a 3.5 mm analog stereo output for de-embedded audio, and Power over Cable (PoC) lets one adapter power both units.
It is a point-to-point pair: one HDMI input at the TX, one extended HDMI output at the RX, plus the local loop. It does not switch between sources or feed several remote displays.
Typical runs are a projector in a lecture hall or auditorium fed from the lecturer's workstation, a boardroom display fed from a rack in another room, and digital signage in a lobby or public area with the media player kept in a secure server room.
120 m (394 ft) for 4K2K, and 150 m (492 ft) for 1080p, over a single Cat5e/6 cable. The 150 m rating applies to 1080p only, so plan any 4K run at 120 m or less.
The HDMI leads at each end have limits of their own. Use Premium High Speed HDMI cable, within these lengths:
| Signal | Cat5e/6 link, TX to RX | Each HDMI lead |
|---|---|---|
| 4K60 | 120 m (394 ft) | 5 m (16 ft) |
| 4K30 | 120 m (394 ft) | 10 m (32 ft) |
| 1080p60 | 150 m (492 ft) | 15 m (50 ft) |
At 4K60 4:4:4 the kit is rated for 8-bit colour only. 10-bit and 12-bit are supported at 1080p60, at 4K30, and at 4K60 in YCbCr 4:2:2 or 4:2:0. Supported HDR formats are HDR, HDR10+, Dolby Vision and HLG. Because 4K60 4:4:4 is limited to 8-bit, set a source that is sending 10- or 12-bit 4K60 content to 4:2:2 or 4:2:0.
The rest of the video specification: HDCP 2.2 and HDCP 1.4, DVI 1.0 compliant; 4K2K 50/60Hz at 4:4:4, 4:2:2 and 4:2:0; 4K2K 30Hz 4:4:4; 1080p/i, 720p/i and 480p/i; HDMI 3D formats; and PC resolutions up to 1920×1200.
No. One 24V/1A power adapter with a locking connector (AC 100–240V, 50/60Hz input) comes in the box, and both the TX and the RX have a DC 24V input. With PoC, whichever unit you power supplies the other over the Cat cable, so put the adapter at whichever end has an outlet. Rated power consumption is 9.36W.
Connect the Cat5e/6 cable before applying power. PoC depends on it. If only the powered unit comes up, remove power, confirm the cable is connected at both ends, and power one unit again. If the second unit still stays dark, test the cable for continuity end to end.
A single Cat5e or Cat6 unshielded twisted-pair cable from HDBT OUT (RJ45) on the TX to HDBT IN (RJ45) on the RX. When a link is poor, check the termination at both ends, look for sharp bends or damage along the run, and confirm the length is within the rating for the resolution you are sending. Terminate and test the full run before it is closed into a wall or ceiling.
Each unit is a black metal enclosure, 140 × 65 × 18 mm (5.51 × 2.56 × 0.71 in); the TX weighs 160 g and the RX 155 g. Operating range is 0–40 °C (32–104 °F) at 20–90% RH, non-condensing.
The SERVICE port on each unit is for firmware updates.
Both units have the same three indicators.
| LED | Lit | Flashing | Dark |
|---|---|---|---|
| Power (red) | Unit is powered | — | No power |
| Connection | Good TX–RX link | Poor connection | No connection |
| Data | HDMI signal with HDCP | HDMI signal without HDCP | No HDMI signal |
Read Connection before anything else. Flashing points to the Cat run: termination, bends or damage, or a run longer than the rating for the resolution. Once Connection is steady, Data tells you whether a source signal is arriving and whether it carries HDCP.
HDMI OUT on the TX mirrors HDMI IN, for a monitor at the source end such as a confidence monitor at a rack or lectern. It shows an image only while a valid, active source is connected to HDMI IN; with no source signal there is no loop output. Keep that lead within the HDMI lengths above.
The receiver's AUDIO OUT is a 3.5 mm stereo jack carrying de-embedded analog stereo, PCM 2.0 only. Dolby Digital, DTS and other encoded formats are not available on it; they pass through on HDMI only. If the jack is silent, set the source to output LPCM 2.0 (PCM stereo).
The HDMI path passes LPCM 2.0, 2.1, 5.1, 6.1 and 7.1, Dolby Digital, Dolby Digital Plus, Dolby TrueHD, DTS-ES, DTS-HD Master Audio, DTS-HD High Resolution Audio and DTS:X. Take multichannel or bitstream audio from the RX HDMI output, and use the 3.5 mm jack for a stereo feed to a separate amplifier or DSP. The transmitter has no analog audio output; its HDMI loop output carries the embedded audio along with the video.
Both units have a 3-pin Phoenix RS-232 port, and serial data passes bi-directionally between them, so a controller at one end can reach a serial device at the other: display power and input commands sent from a head-end rack, for example, or a rack-mounted source controlled from the display end. Two 3-pin Phoenix plugs are supplied.
Wire each plug for TX, RX and GND, and make sure it is fully seated on both units. The extender passes RS-232 through and has no command set of its own: take the baud rate and other serial settings from the controlled device's documentation, and set the controller to match. Send a known command and confirm the far device responds before committing the string to a control driver. If commands do not get through, recheck the wiring and seating, then confirm the controller's baud rate matches the device.
Each unit has an IR IN and an IR OUT (3.5 mm stereo). A signal entering IR IN on one unit comes out of IR OUT on the other, and both directions work at the same time.
| To control | IR receiver cable | IR blaster cable |
|---|---|---|
| A source at the TX end, from the display | RX IR IN | TX IR OUT, over the source's IR window |
| The display, from the TX end | TX IR IN | RX IR OUT, over the display's IR window |
The box holds one receiver cable and one blaster cable, which covers one direction. Controlling in both directions at once needs a second receiver and blaster.
The rated IR receiver range is 0–5 m (0–16 ft) at a ±45° angle between receiver and remote, and 0–8 m (0–26 ft) at ±90°. If IR from the display end does nothing, first check that the receiver cable is in RX IR IN and the blaster is in TX IR OUT, then that the receiver is aimed at the remote within those limits.
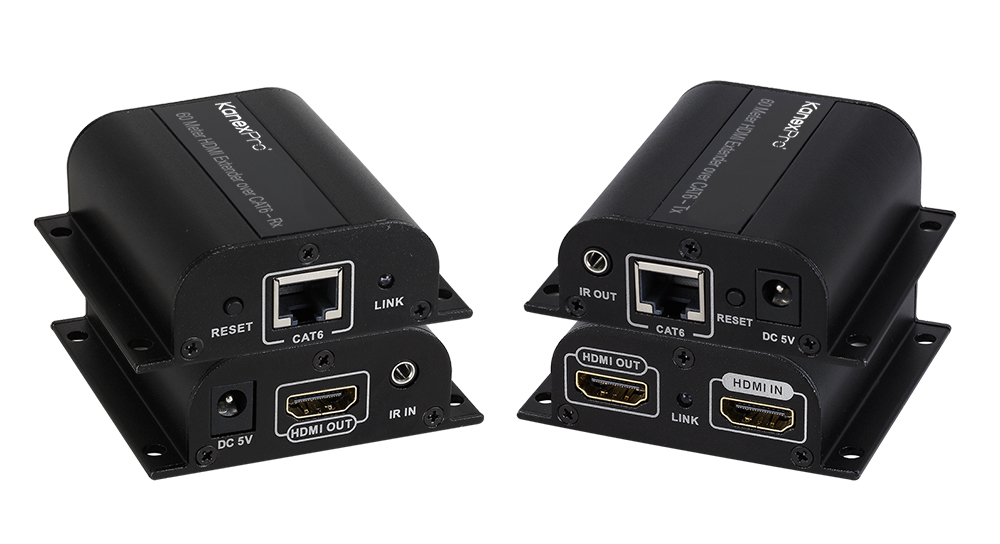
The EXT-HD60M sends 1080p@60Hz HDMI and IR up to 60m (196ft) over one CAT6/6a/7 cable, with a local HDMI loop-out on the transmitter. CAT5e won't…
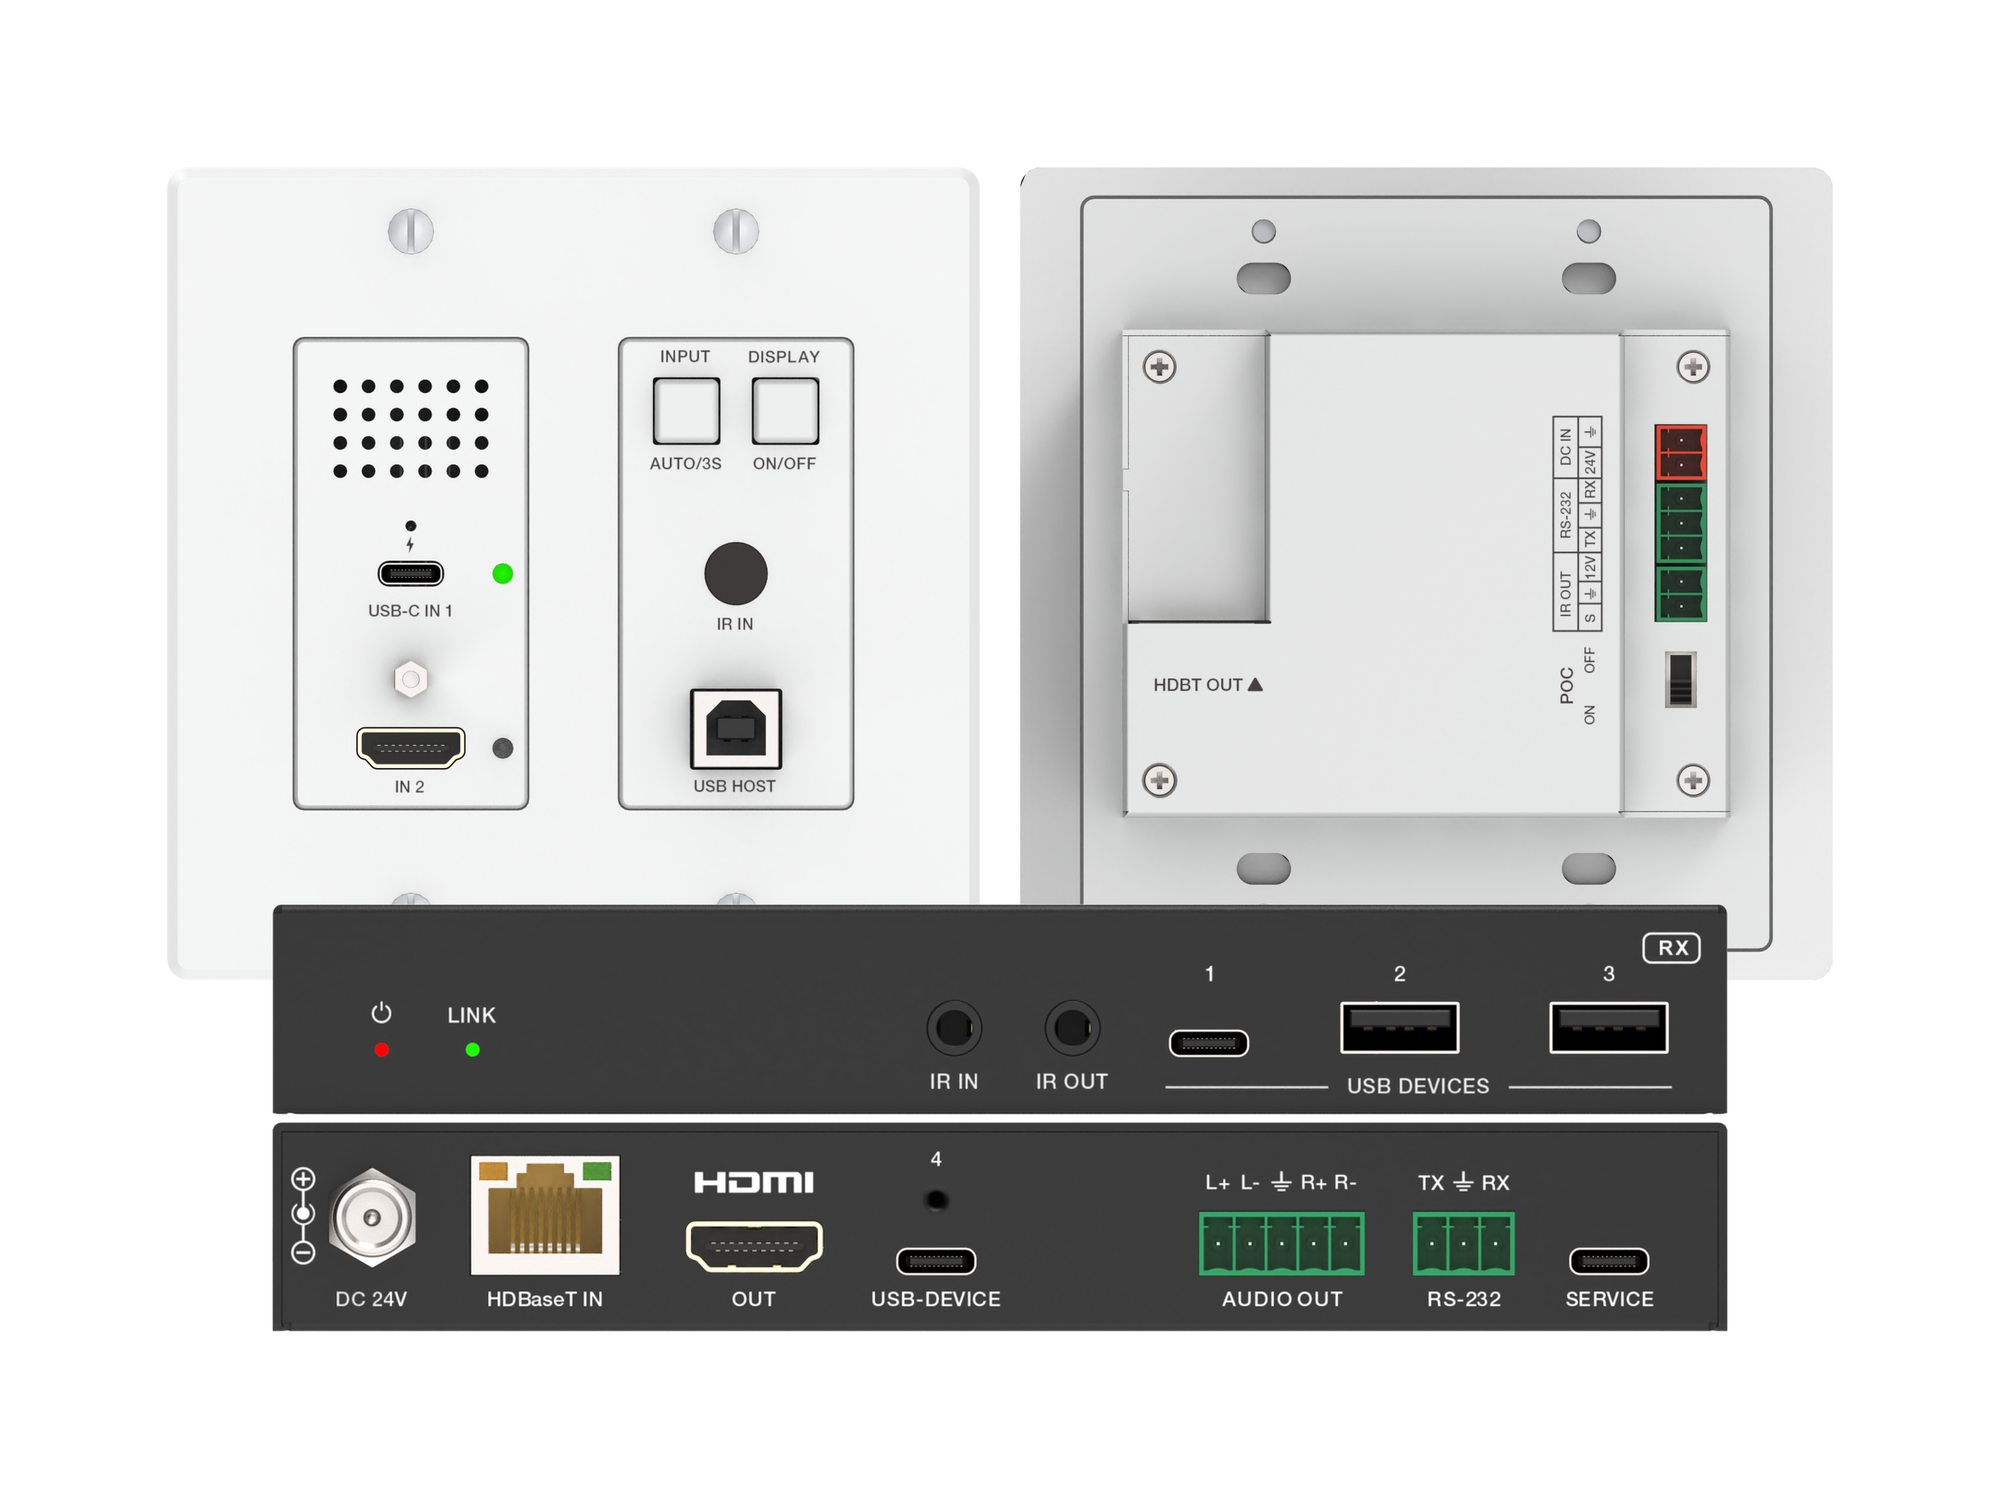
A 2-gang wall plate that sends laptop USB-C or HDMI video, USB 2.0 and 60W charging to a display up to 100m away over one CAT6/6A cable.
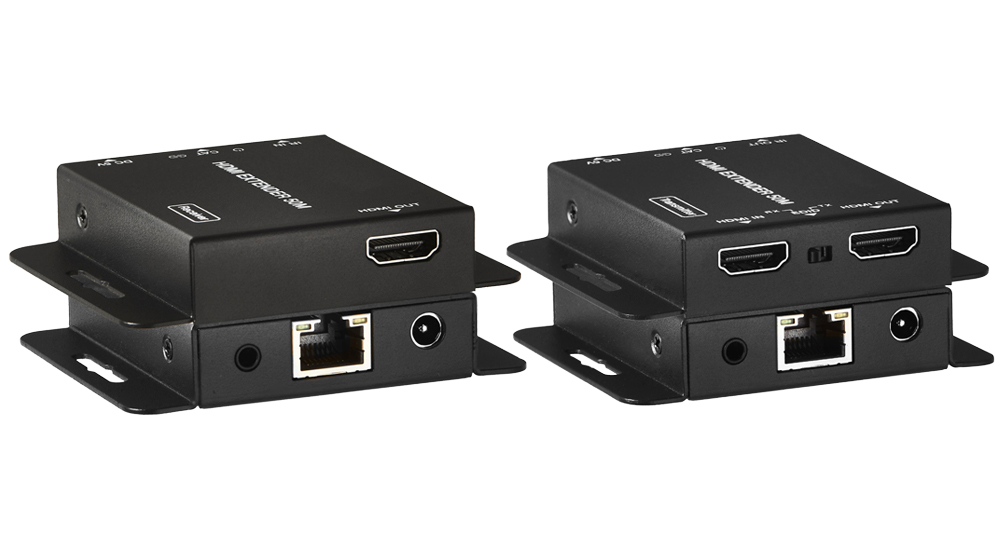
The EXT-HD50C sends HDMI over one Cat5e/6 run — 70M at 1080p or 40M at 4K@30Hz on Cat6 — with HDMI 1.4/HDCP 1.4 and loop-out.
KanexPro sells direct to dealers, resellers, installers and integrators, and through distribution. Whichever way you buy, the same engineers answer the phone.
The trade store: your own account, live stock, reordering, and a first look at new products.
Go to the trade store →Distribution and authorised resellers across the US and beyond.
See where to buy →Design help on extenders, matrix and AV over IP before you spec it.
Ask an engineer →