Downloading KanexPro software and firmware safely
How KanexPro checks firmware and software downloads, how to verify a file's SHA-256 fingerprint, what the Windows SmartScreen warning means, and…


The KanexPro FLEX Matrix is a modular 4K60 matrix switcher — a single chassis that routes any HDMI source to any display, at any scale, with built-in video wall, quad view multiview, per-output independent scaling, and CEC display management. Unlike fixed-port matrix switchers, the FLEX system grows with your install: start with the chassis you need today, add cards as you expand.
The system consists of two component types:
| Component | SKUs | Function |
|---|---|---|
| Chassis | FLEX-MF8X10, FLEX-MF16X20, FLEX-MF24X36, FLEX-MF24X60 | Core switching engine, 2U–4U rack |
| Input Card | FLEX-HDMI8IN | 8 HDMI 2.0 inputs per card |
| HDMI Output Card | FLEX-HDMI12OUT | 12 HDMI outputs for nearby displays |
| CATx Output Card | FLEX-CAT12OUT | 12 CATx outputs, up to 100m, PoC |
| CATx Receiver | FLEX-CATRX | Placed at each remote display, PoC-powered |
| Scenario | Chassis | Cards |
|---|---|---|
| Small conference center (8 in / 10 out) | FLEX-MF8X10 | 1× FLEX-HDMI8IN, 1× FLEX-HDMI12OUT or CAT12OUT |
| Sports bar (16 in / 20 out) | FLEX-MF16X20 | 2× FLEX-HDMI8IN, mix of HDMI12OUT + CAT12OUT |
| Campus / convention center (24 in / 36 out) | FLEX-MF24X36 | 3× FLEX-HDMI8IN, 3× FLEX-CAT12OUT |
| Maximum density (24 in / 60 out) | FLEX-MF24X60 | 3× FLEX-HDMI8IN, 5× FLEX-CAT12OUT |
How KanexPro checks firmware and software downloads, how to verify a file's SHA-256 fingerprint, what the Windows SmartScreen warning means, and…
Boardrooms, conference rooms, campuses, lobbies — real-world deployment scenarios Corporate AV is among the most practical deployment target for…
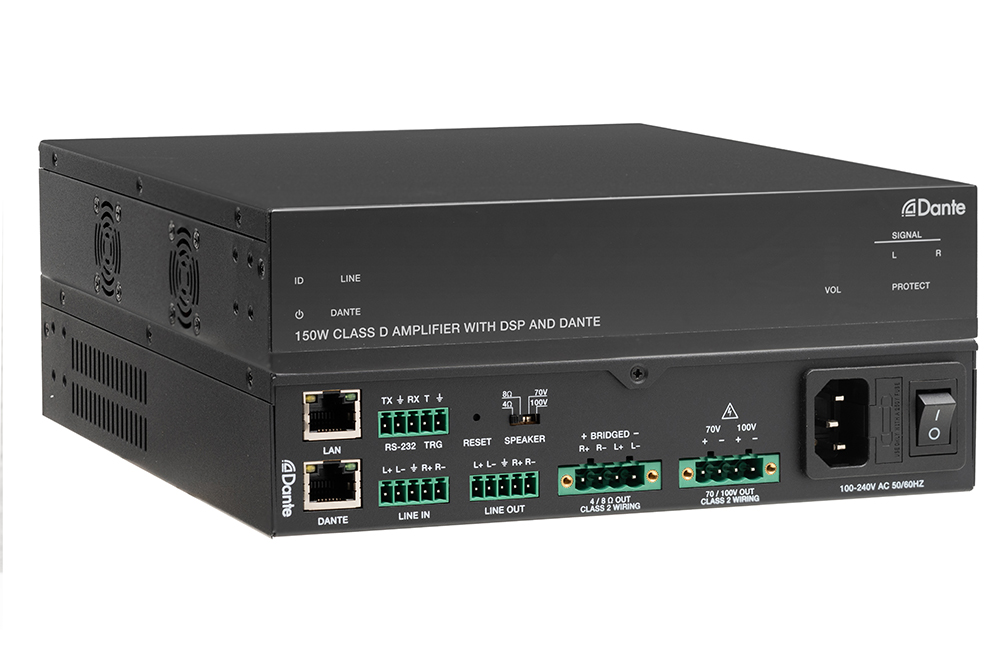
Setup Guide Configuring Your Network Switch for Dante Required switch settings for all KanexPro AUD-DTE- Dante products Dante requires a managed…
KanexPro sells direct to dealers, resellers, installers and integrators, and through distribution. Whichever way you buy, the same engineers answer the phone.
The trade store: your own account, live stock, reordering, and a first look at new products.
Go to the trade store →Distribution and authorised resellers across the US and beyond.
See where to buy →Design help on extenders, matrix and AV over IP before you spec it.
Ask an engineer →