AUD-EARC-8K: eARC Audio Routing, Formats and EDID
The AUD-EARC-8K passes HDMI 2.1 video to the TV and sends audio to soundbar, amp, optical and L/R at once, with no decoding or downmixing.


Discover, configure, and route all Dante devices on your network
Dante Controller is a free application from Audinate used to discover, configure, and route Dante devices. It runs on Windows and macOS and requires no license. All KanexPro AUD-DTE- products are fully compatible.
On launch, Dante Controller automatically discovers all Dante devices on the local network via mDNS. All connected KanexPro AUD-DTE- devices appear within seconds. If devices do not appear, verify IGMP snooping is enabled and the controller computer is on the same VLAN as the Dante devices.
Transmitters (sources) appear as columns. Receivers (destinations) appear as rows. Click a cell to create a subscription. A solid green checkmark = active audio flow.
Default names are auto-assigned (e.g., KanexPro-ECODE-xxxxx). To rename: double-click the device name, enter a descriptive label (e.g., “Boardroom-LineIn”), press Enter. The name persists in device firmware through power cycles. Name devices before installation in large deployments.
Set in Device View (double-click a device name). Available settings: 1ms (dedicated network only), 4ms (default, recommended for most installs), 10ms (multiple switch hops or complex paths). Use 10ms if devices show clock sync issues.
Dante uses PTP (IEEE 1588) for clock sync. One device auto-negotiates as the PTP master; all others follow. To manually set a preferred master, open the Clock Status tab. For AES67 interoperability, enable AES67 mode in Device View and ensure the switch supports PTP.
Routing subscriptions are stored in each device’s firmware and persist through power cycles. Once configured and working, the routing is retained even if Dante Controller is closed or the computer is disconnected.
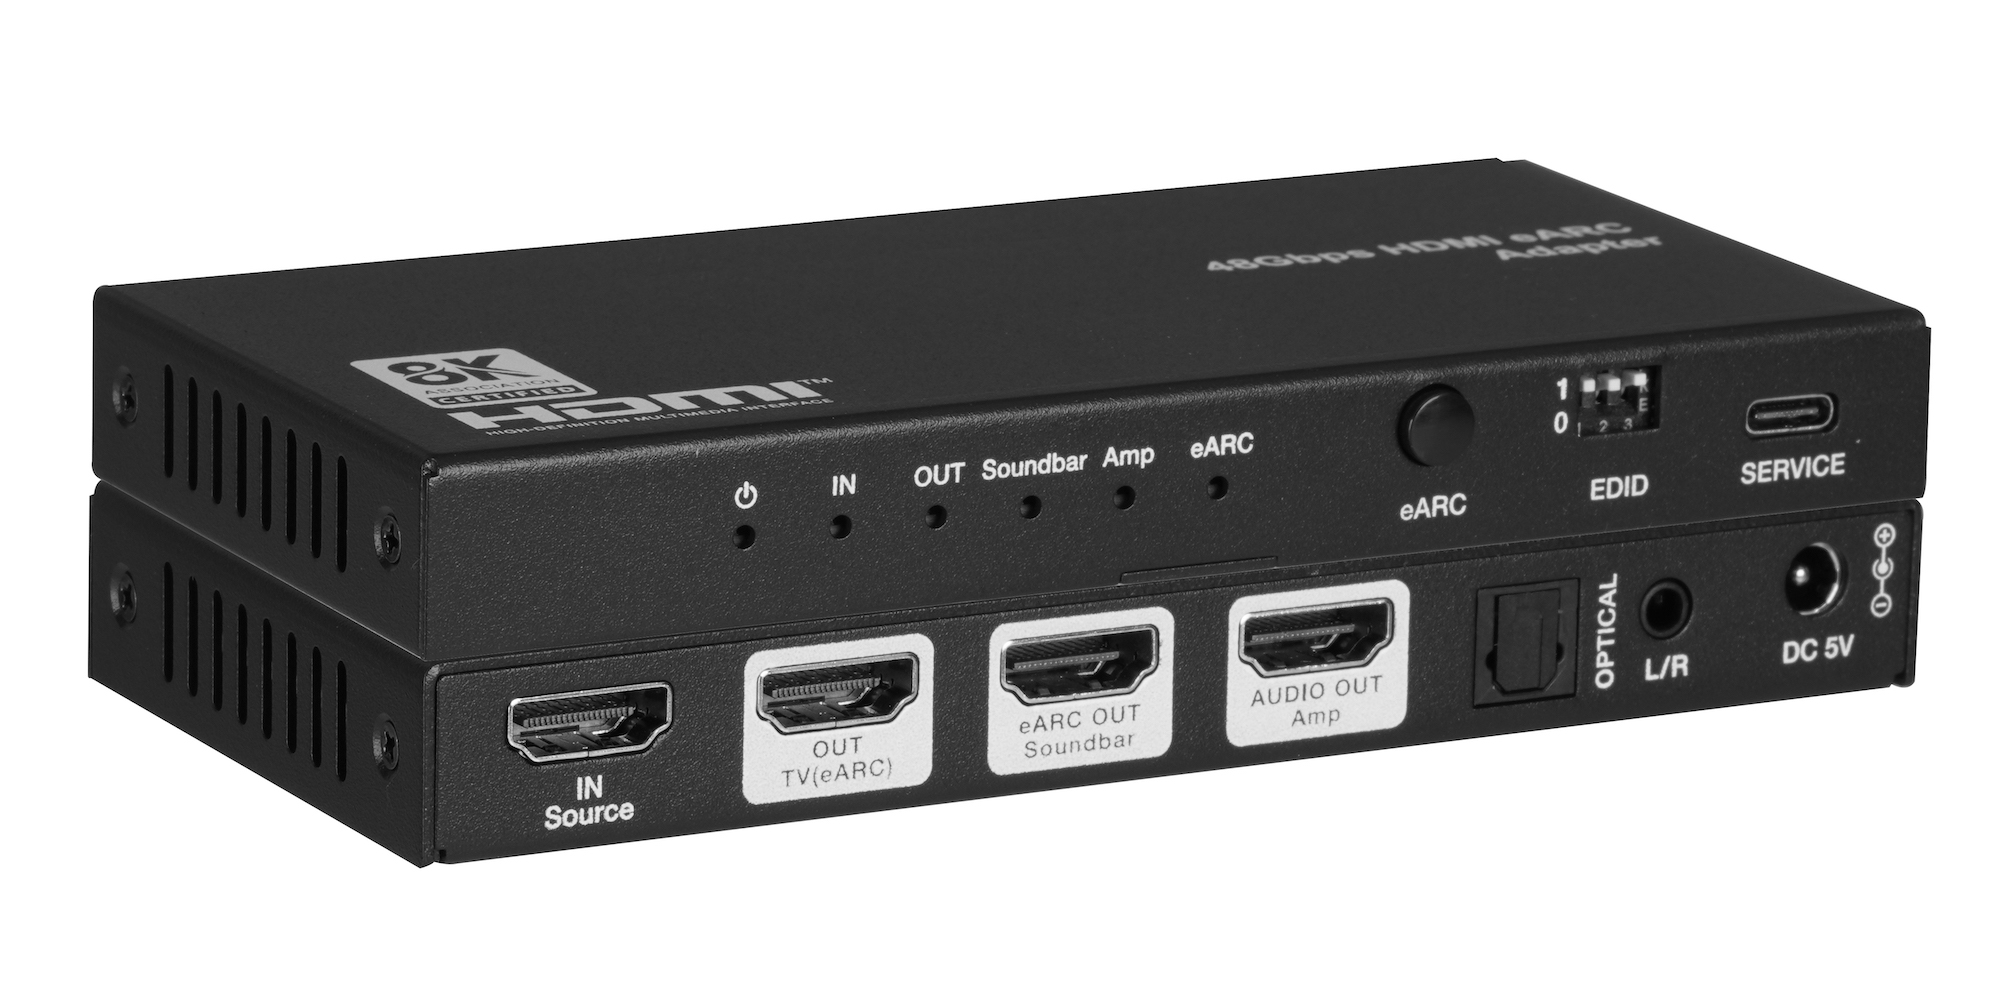
The AUD-EARC-8K passes HDMI 2.1 video to the TV and sends audio to soundbar, amp, optical and L/R at once, with no decoding or downmixing.
How KanexPro checks firmware and software downloads, how to verify a file's SHA-256 fingerprint, what the Windows SmartScreen warning means, and…
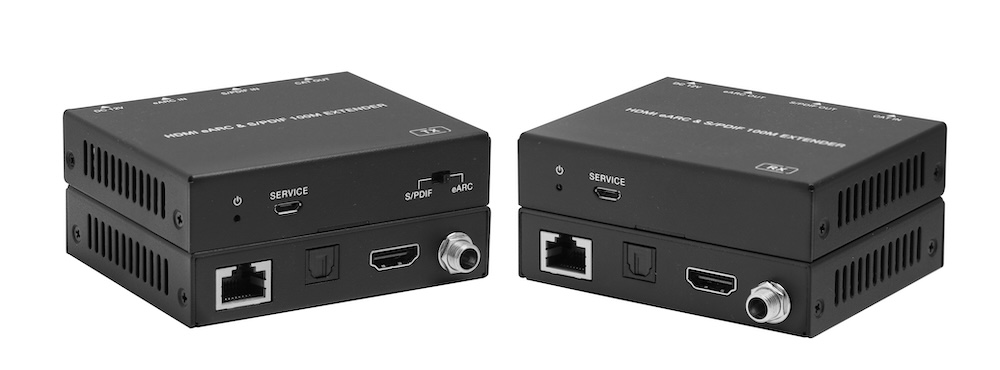
The AUD-EXT-EARC100M carries HDMI eARC or S/PDIF audio from a TV to a soundbar or AVR up to 100m/328ft over one CAT cable, powered from either end.
KanexPro sells direct to dealers, resellers, installers and integrators, and through distribution. Whichever way you buy, the same engineers answer the phone.
The trade store: your own account, live stock, reordering, and a first look at new products.
Go to the trade store →Distribution and authorised resellers across the US and beyond.
See where to buy →Design help on extenders, matrix and AV over IP before you spec it.
Ask an engineer →