Downloading KanexPro software and firmware safely
How KanexPro checks firmware and software downloads, how to verify a file's SHA-256 fingerprint, what the Windows SmartScreen warning means, and…


KanexPro Huddle Room and Presentation switchers include dual 1G Ethernet ports with 802.1x port authentication and, on the SW-xPS series, a dedicated Dante audio network port. This article covers network configuration for corporate deployment.
All COL-HUD and SW-xPS products have two Ethernet ports serving different functions:
802.1x is a port-based network access control standard. When the switcher is connected to an 802.1x-capable managed switch port, it authenticates itself to the network via a RADIUS server before being granted access. This allows the device to be placed in secure corporate environments without requiring each connected laptop to authenticate individually.
The SW-4X2PS-70M and SW-5X1PS-70M include a dedicated Dante AV network port separate from the main LAN ports.
All products default to DHCP. For production installs, assign static IPs via the web GUI to ensure consistent access for RS-232 over IP, Dante routing, and 802.1x configuration.
How KanexPro checks firmware and software downloads, how to verify a file's SHA-256 fingerprint, what the Windows SmartScreen warning means, and…
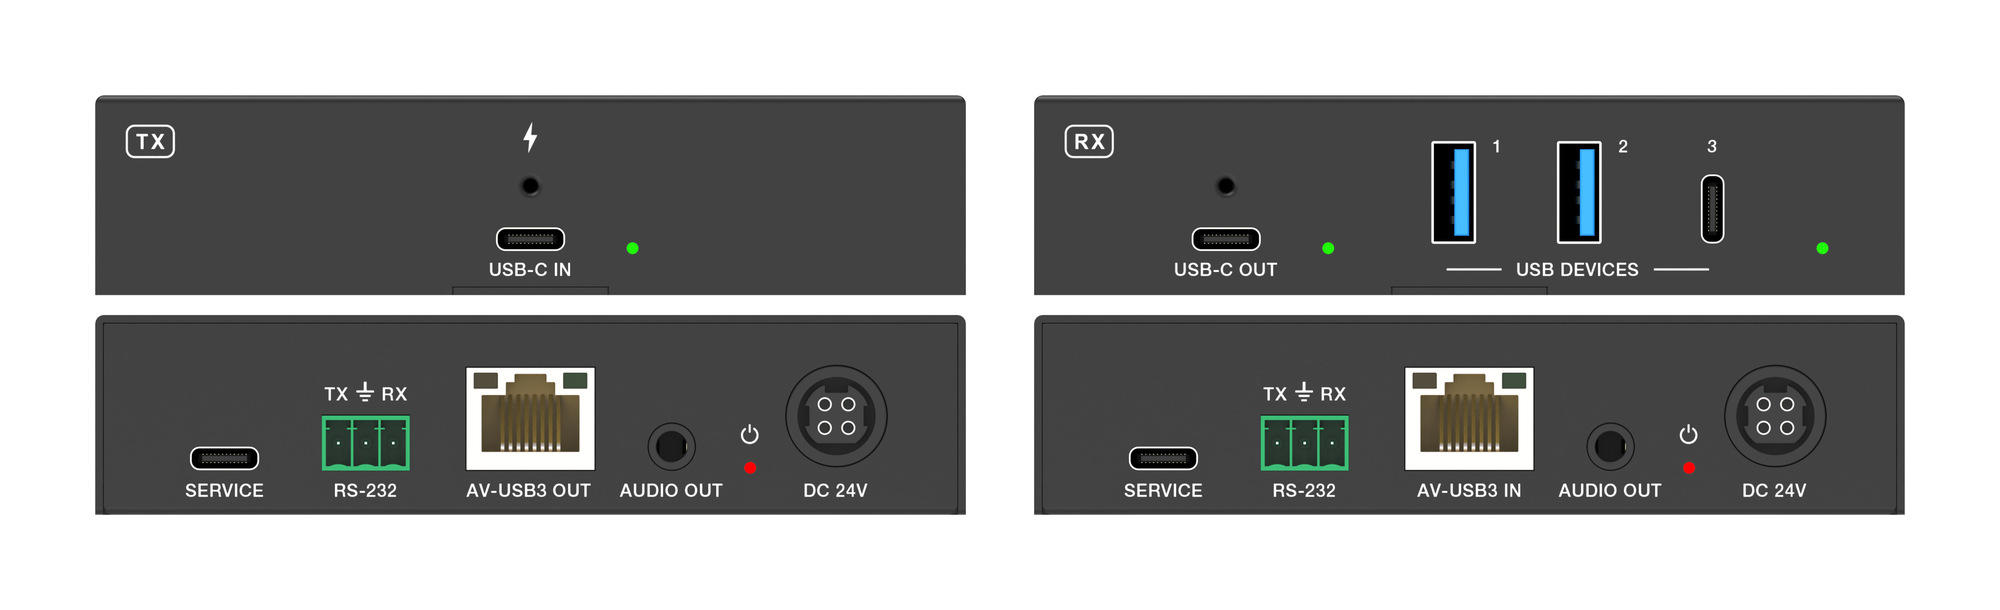
The EXT-USBC2C4K-40M carries USB-C video, USB 3.2 data, touch return and 100W charging up to 40m over one CAT6a cable at 4K.
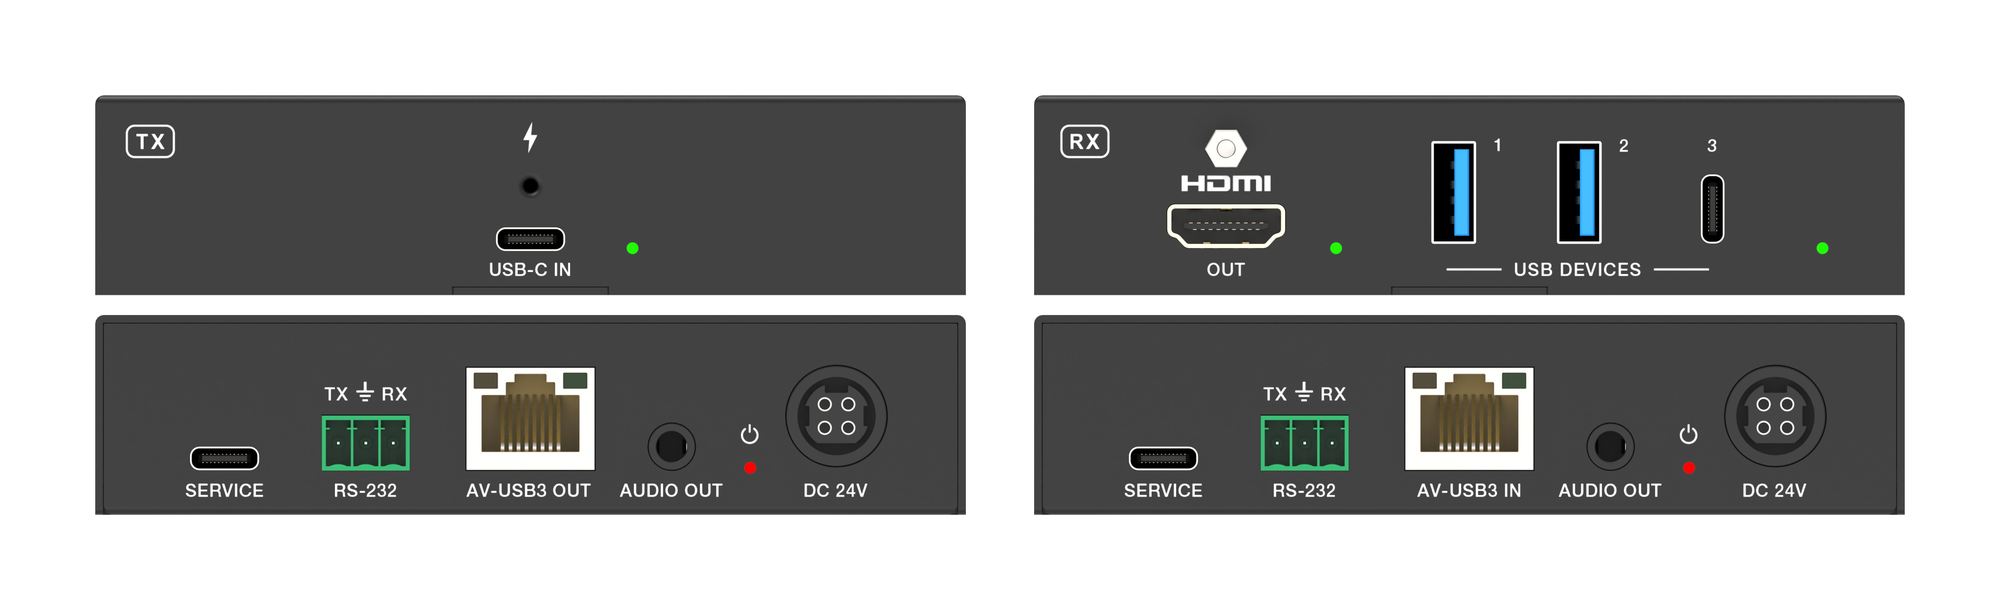
It carries 4K60 video, USB 3.2 data and up to 100W laptop charging from one USB-C port over a single CAT6a run, up to 40m at 4K.
KanexPro sells direct to dealers, resellers, installers and integrators, and through distribution. Whichever way you buy, the same engineers answer the phone.
The trade store: your own account, live stock, reordering, and a first look at new products.
Go to the trade store →Distribution and authorised resellers across the US and beyond.
See where to buy →Design help on extenders, matrix and AV over IP before you spec it.
Ask an engineer →