Installation Guide: Hardware Setup and Connections — AV Over IP
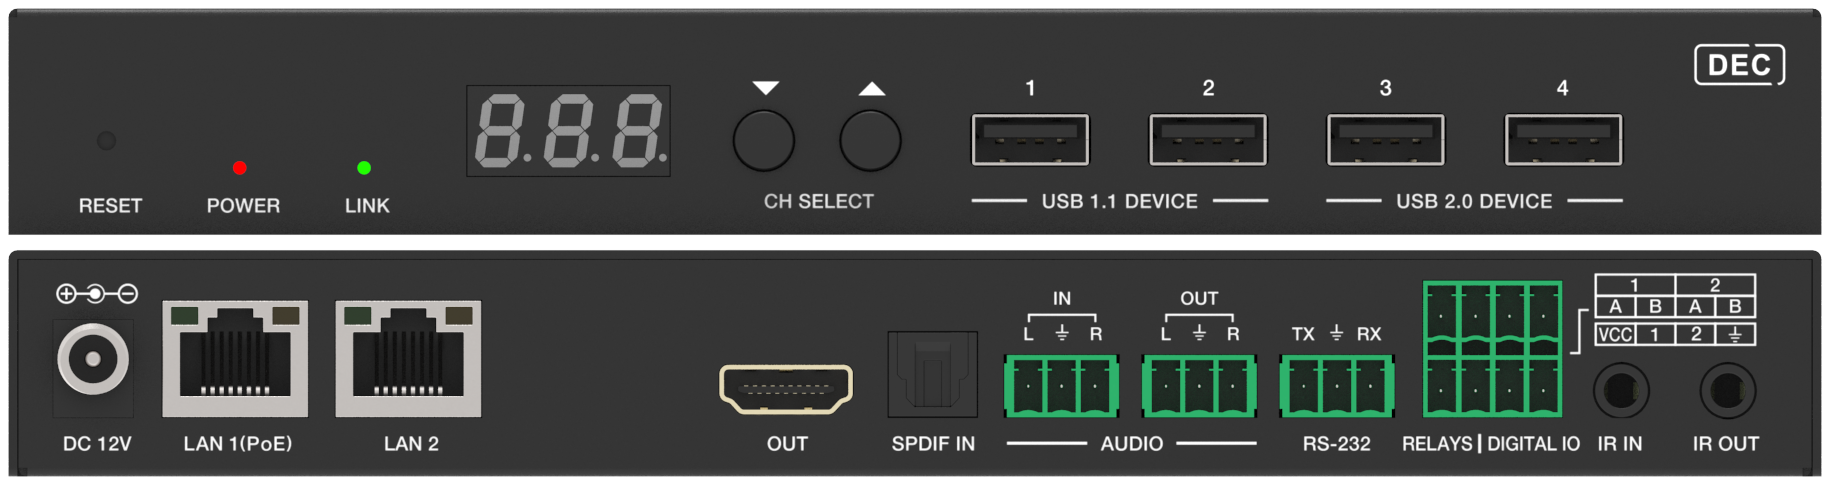
Install KanexPro AV over IP endpoints: rated cable within 100 m, PoE or DC 12V power, LED checks, and the AVO-IPJP2KWPM 2-gang wall plate.


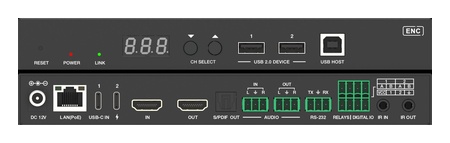 AVO-IPJP2KUC-ENC
4K60 JPEG2000 AV over IP BYOD Encoder — USB-C & HDMI
Dual Input Auto-Switch with PD 100W Laptop Charging, Dolby Vision, Dolby Atmos & ARC/eARC over…
Product page →
AVO-IPJP2KUC-ENC
4K60 JPEG2000 AV over IP BYOD Encoder — USB-C & HDMI
Dual Input Auto-Switch with PD 100W Laptop Charging, Dolby Vision, Dolby Atmos & ARC/eARC over…
Product page →
USB KVM (Keyboard, Video, Mouse) over IP allows you to control a remote computer using a local keyboard and mouse, with the video delivered via the AV over IP encoder/decoder pair. No additional KVM hardware is required — KVM signals travel over the same network connection as the video.
Note: The Slim model (AVO-IPJP2KS) does not support USB KVM.
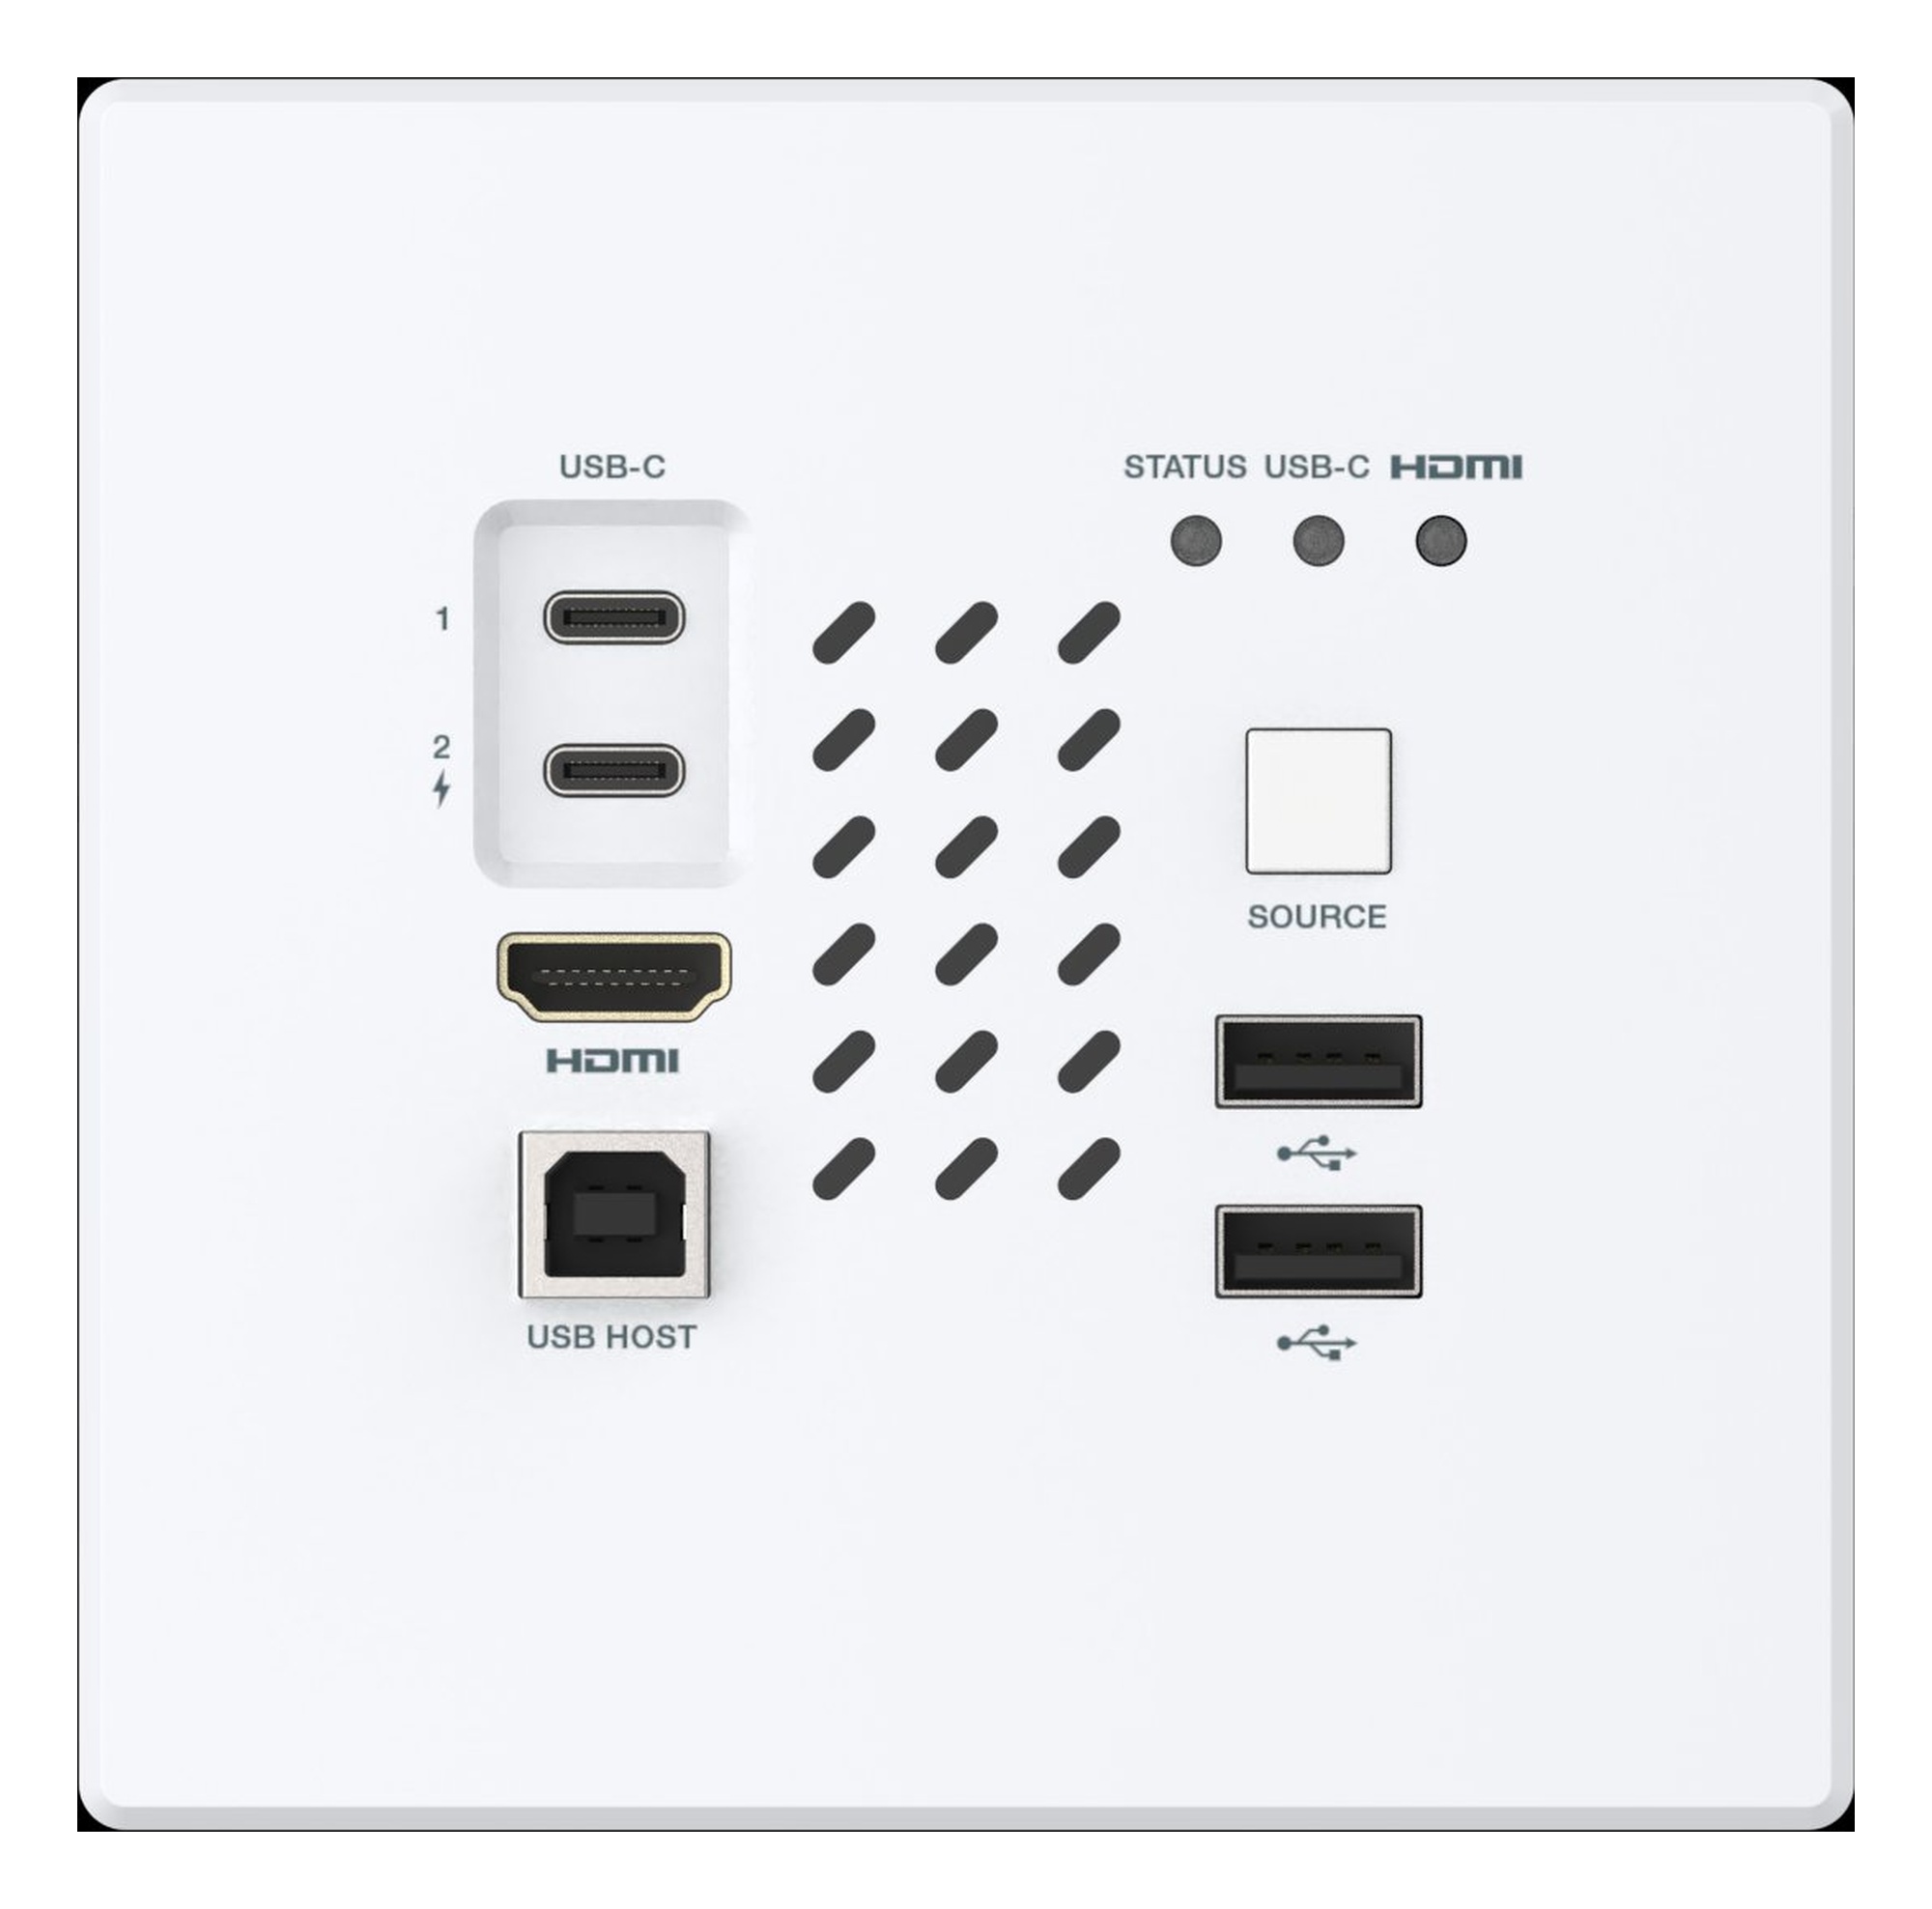
Install KanexPro AV over IP endpoints: rated cable within 100 m, PoE or DC 12V power, LED checks, and the AVO-IPJP2KWPM 2-gang wall plate.
AV over IP scales by adding endpoints and switch ports; a traditional matrix is deterministic but fixed. Architecture, latency and network compared.
Part 2 compares AV over IP with matrix switching on distance, control integration and expansion, with a decision table by venue and scale.
KanexPro sells direct to dealers, resellers, installers and integrators, and through distribution. Whichever way you buy, the same engineers answer the phone.
The trade store: your own account, live stock, reordering, and a first look at new products.
Go to the trade store →Distribution and authorised resellers across the US and beyond.
See where to buy →Design help on extenders, matrix and AV over IP before you spec it.
Ask an engineer →